RAF Dunsfold (Airfield Outliers)
Toggle site summary [+/-] What: Military airbase and associated buildings
Where: Dunsfold, Surrey
Built: 1942-3
Architect: Air Ministry/Royal Canadian Engineers
Abandoned: Outlying buildings c.1953-1990, airfield still in use.
Listed: No
Visited: 2005-6, 2013-4, 2025
Last Known Condition: Partly derelict, airfield threatened by housing development.
Page Updated: October 2025
Although no longer governed by the Official Secrets Act, Dunsfold
Aerodrome still retains an air of mystery: closed to the public for most
of the year and surrounded by high fences, only distant glimpses can be
seen of the runway and factory buildings.
Outside of track days and occasional flights, no sound escapes the belt
of trees surrounding the airfield and in the the woods which now cover
what remains of the airmen's barracks all is quiet. In three hours of
exploring I heard only the plaintive call of the cuckoo and the far off
barking of a farm dog, even my own footsteps being deadened by a thick
carpet of moss.
Airfield Plan, 2014 [ 320 KB]

View of the airfield from the south.

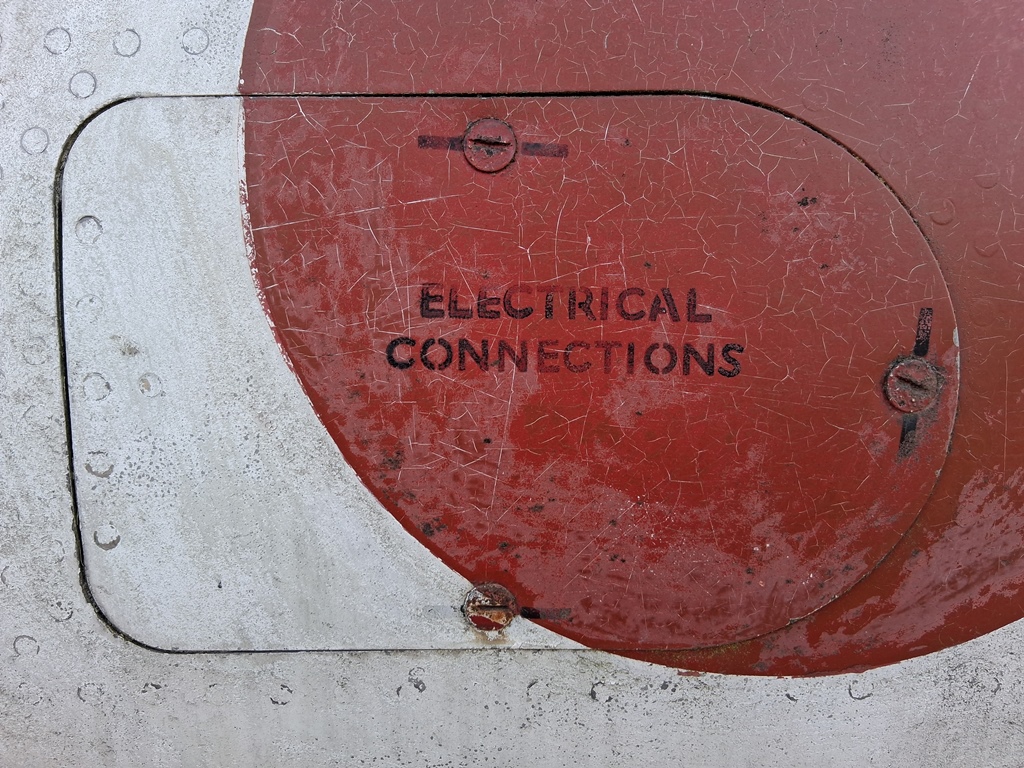
USAF C-47 Douglas Skytrain 'L4-D' with factory buildings
behind.
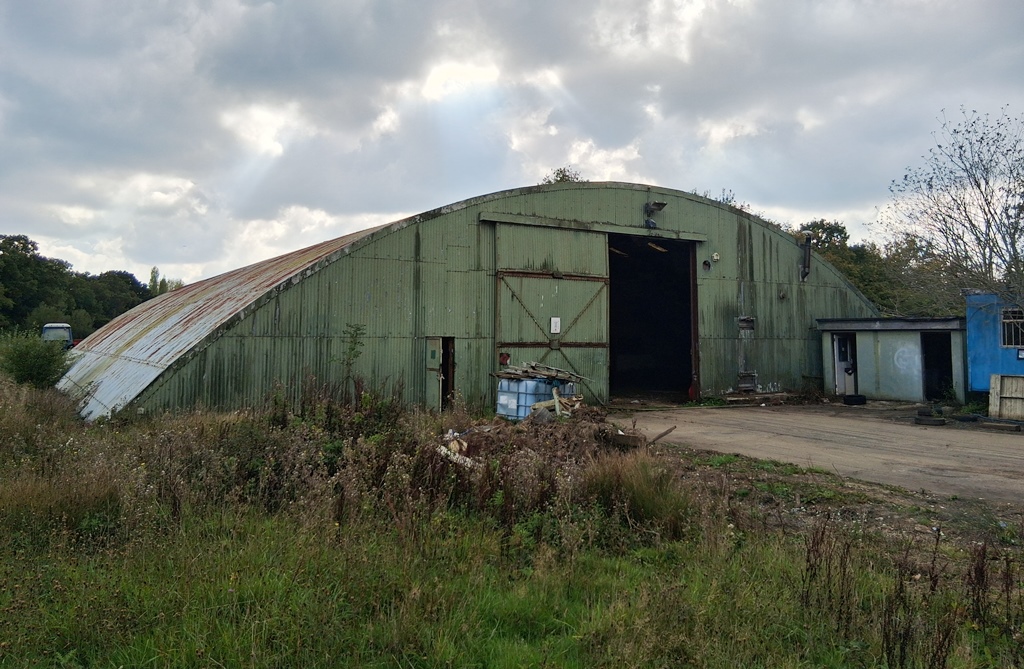
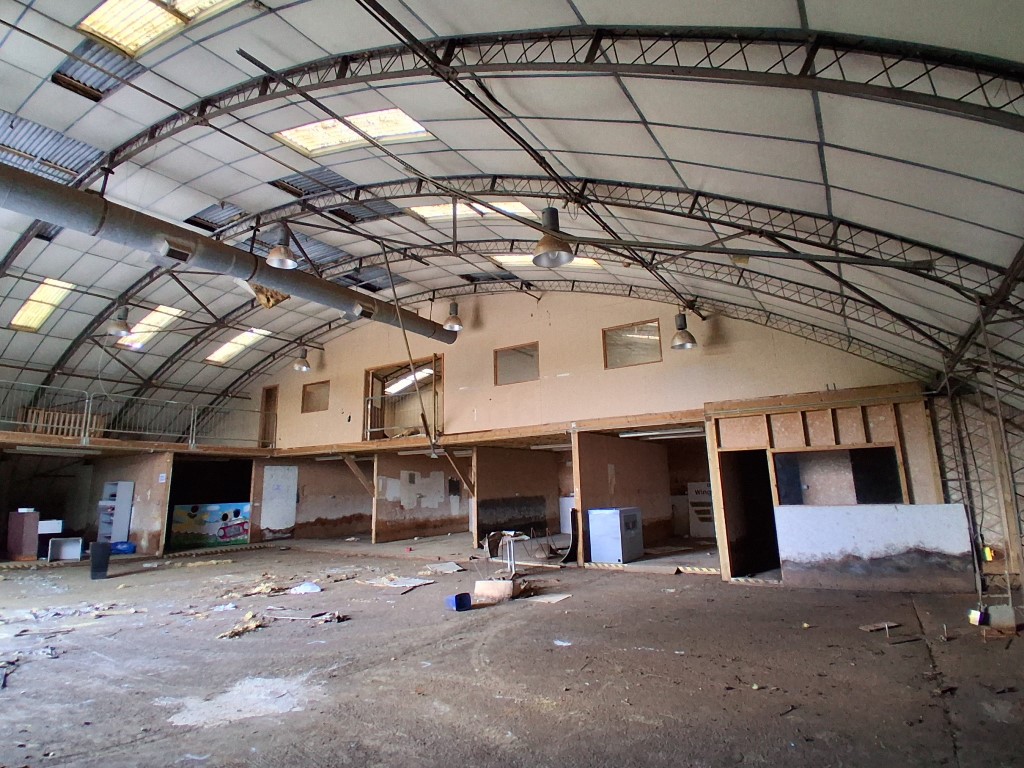
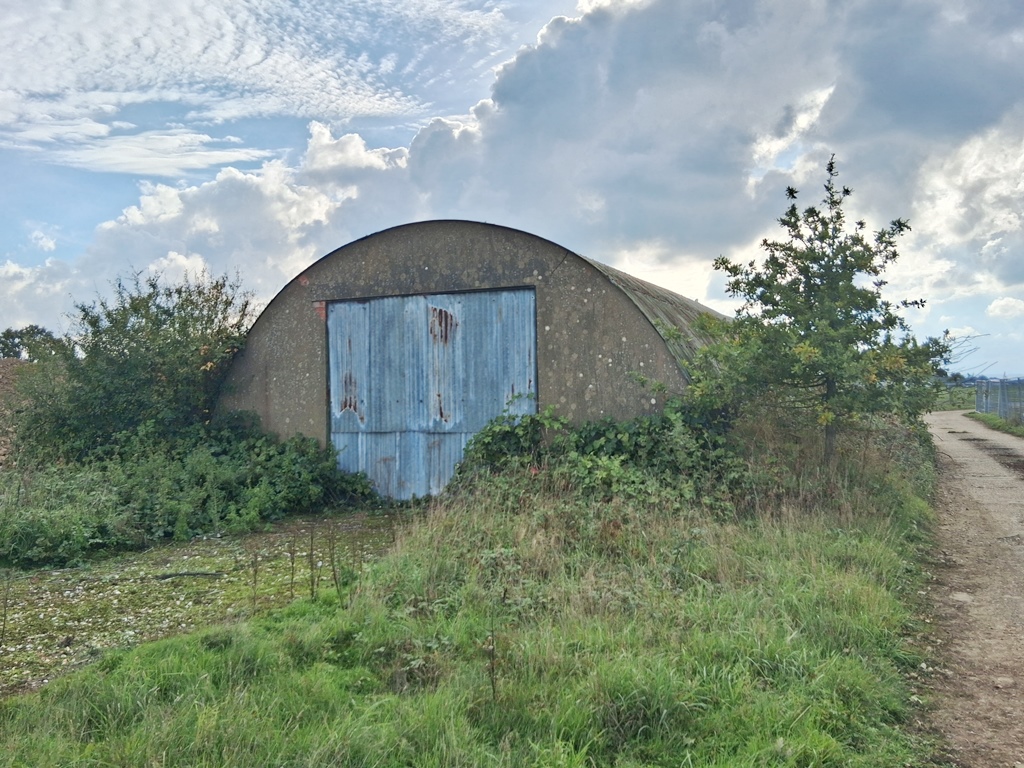
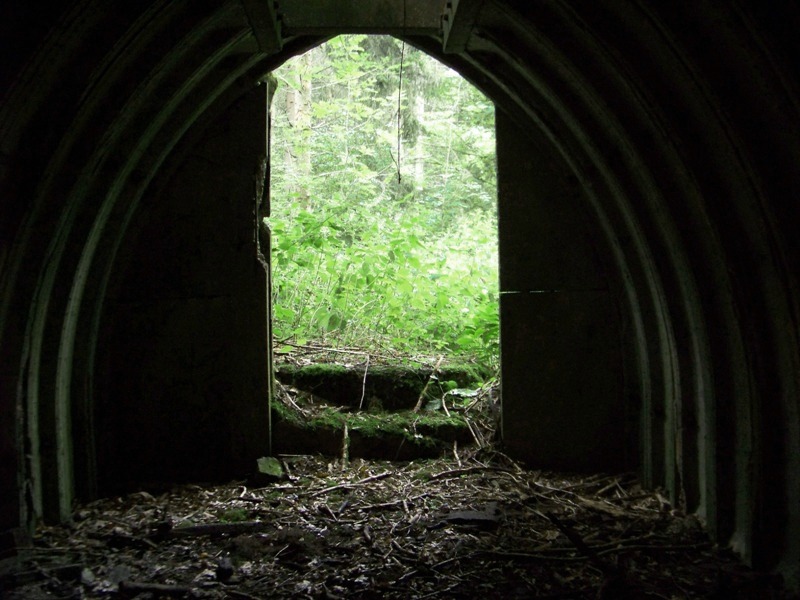
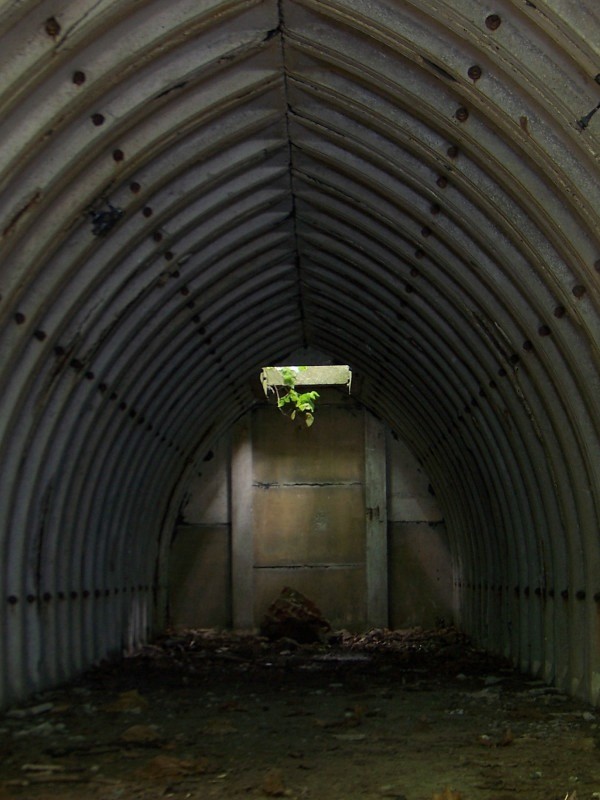
Surviving WWII "blister" hangar.
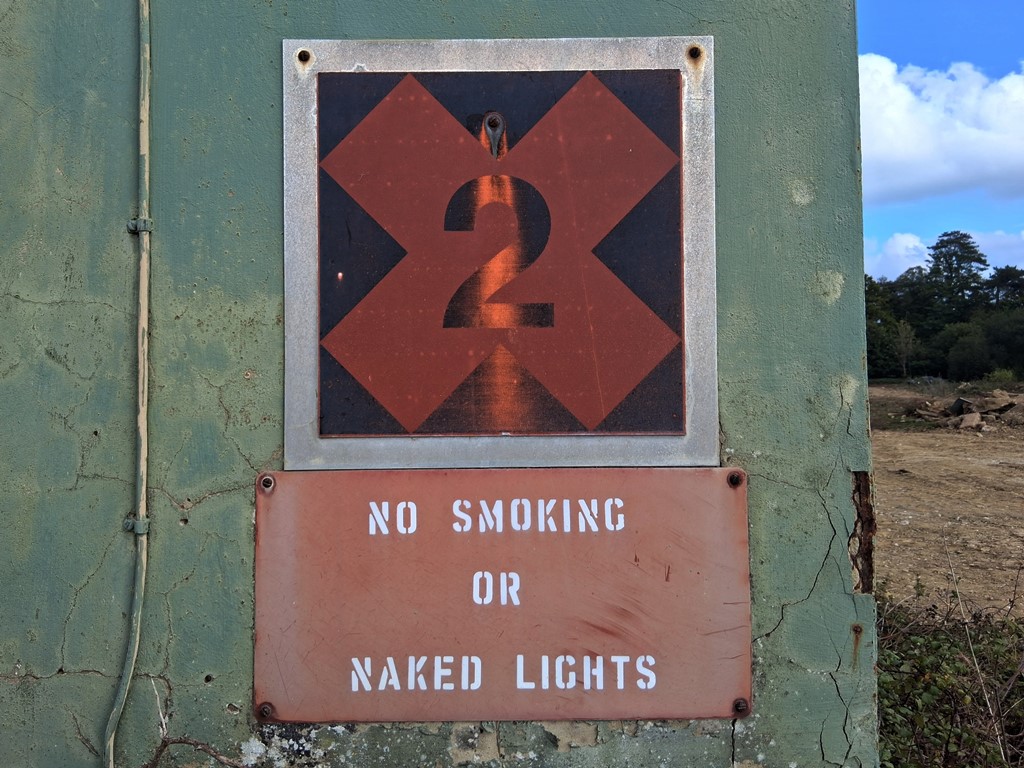
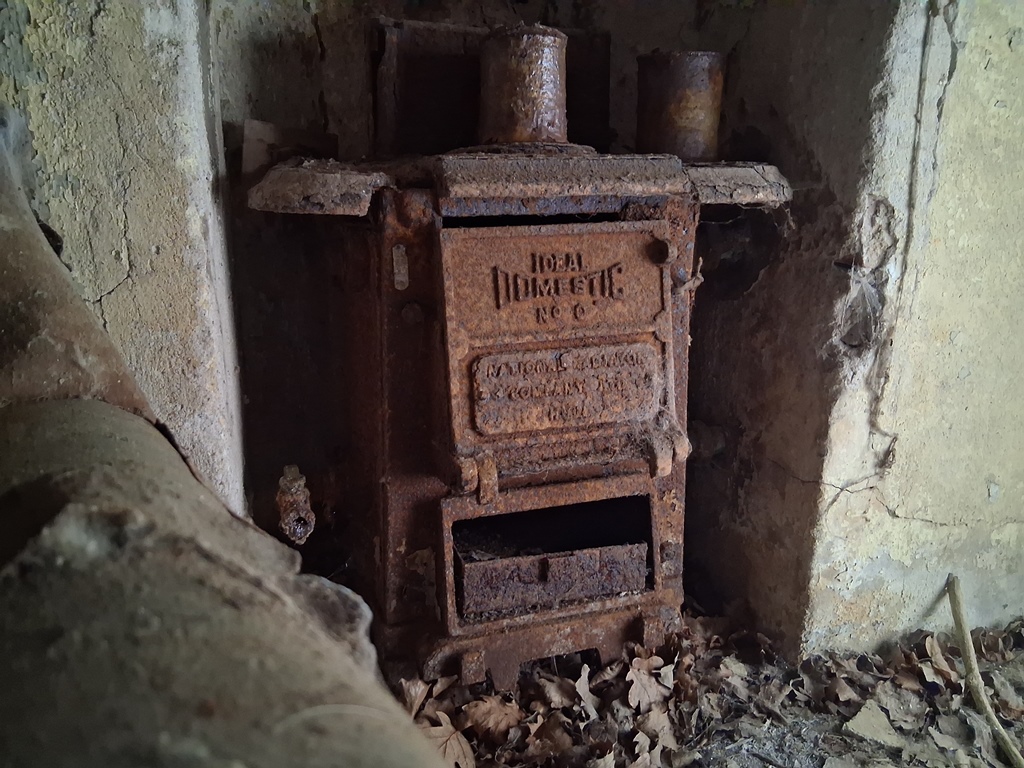
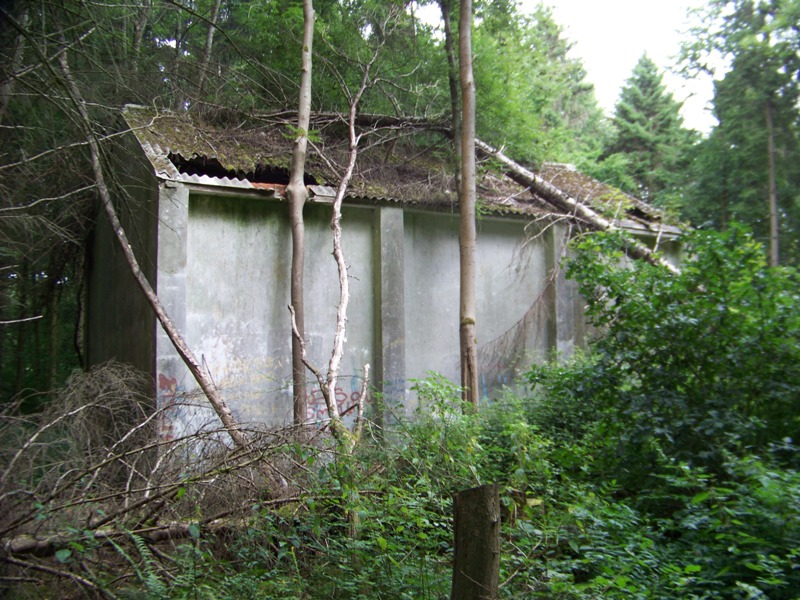
Fused spare bomb store.
Fuzing point building - A concrete roadway splits from the main bomb store track here to
allow a tractor-pulled bomb-trolley train to drive through the shed, pausing to allow each
bomb to be fuzed ready for
loading onto the aircraft.

Southern Bofors AA gun position

Handcraft Hut for Bofors AA gun crew.

Stanton shelter for AA gun crew.

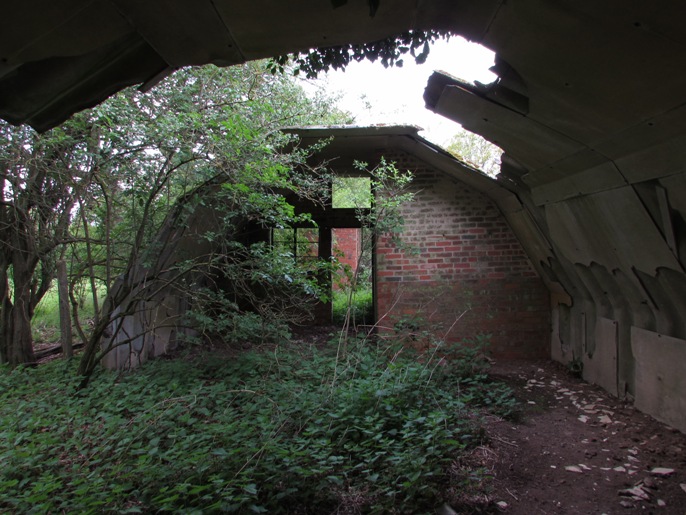
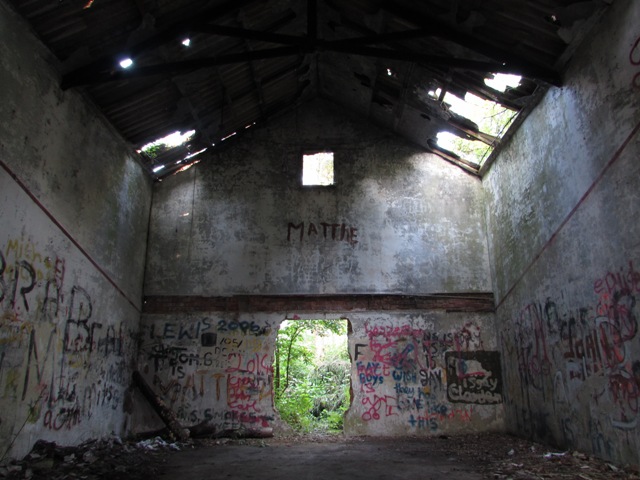
Unidentified hut, southern dispersal area.
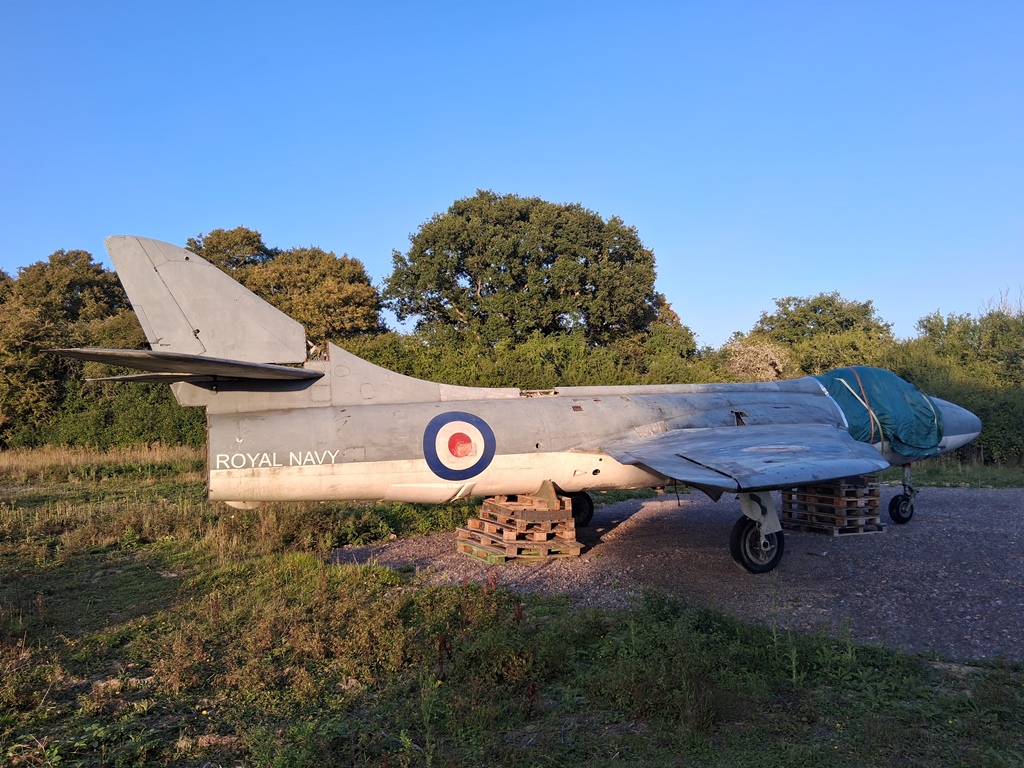
Hawker Hunter, southern dispersal area. I'm told that this is to form part of a new museum on site.
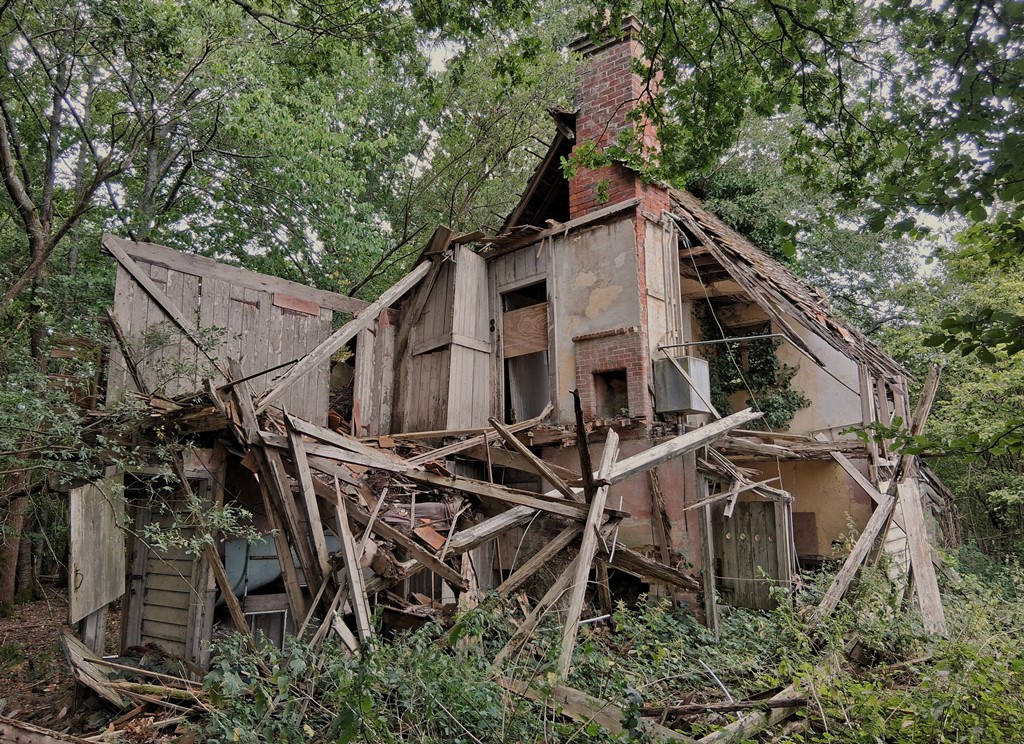
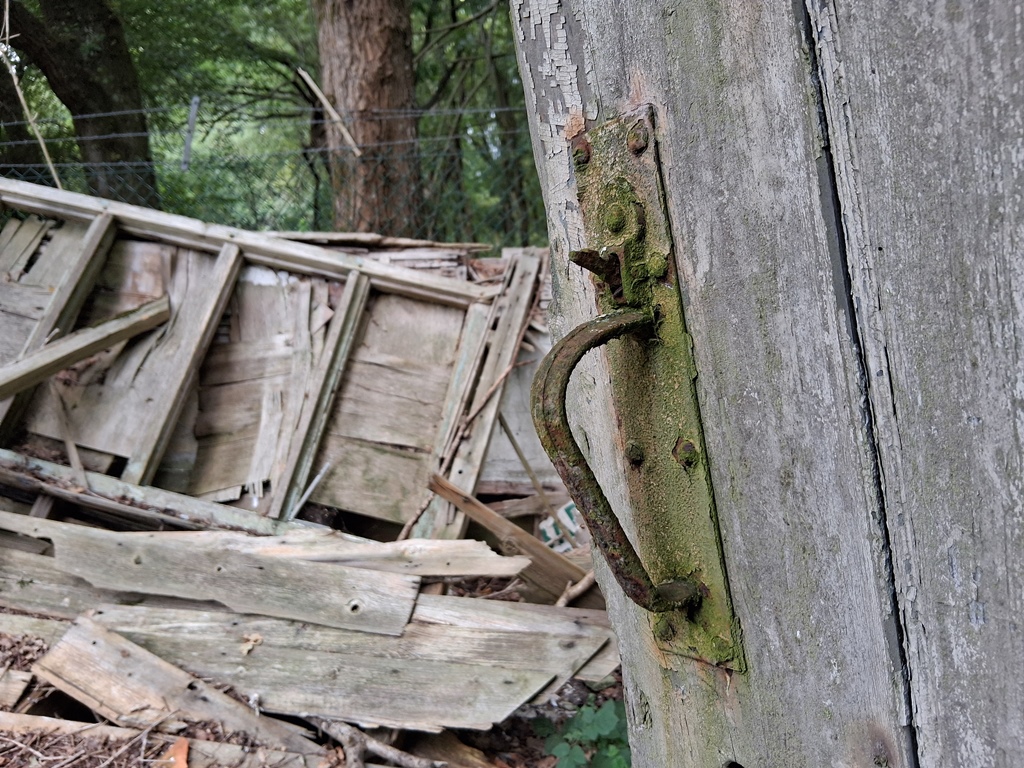
Broadmead Cottage originally stood in the path of the north perimeter track - it was moved by the
Royal Canadian Engineers using wooden rollers to its present position on the southern perimeter
and later became the HQ building for 98 Squadron RAF. Post war the cottage was used by Hawker
Aircraft Co. test pilot Frank Murphy as a residence and after it became vacant was used by the
local fire service and UK Special Forces as a training house. It collapsed c. 2020.

The disused Wey & Arun Canal served as a ready-made
anti-tank ditch on the field's eastern perimeter.

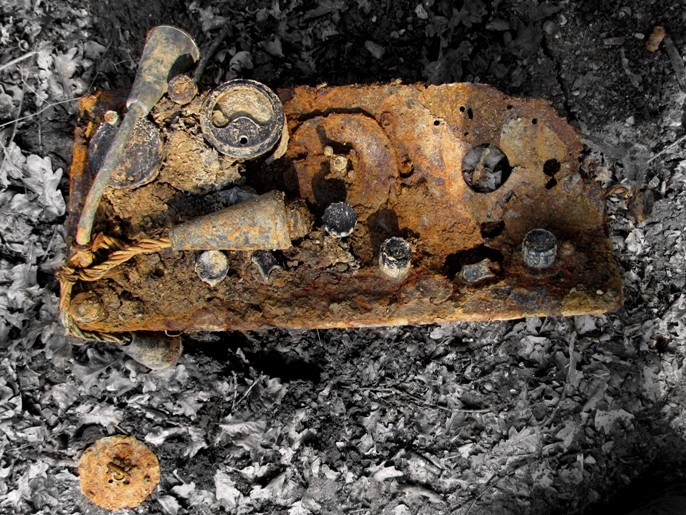
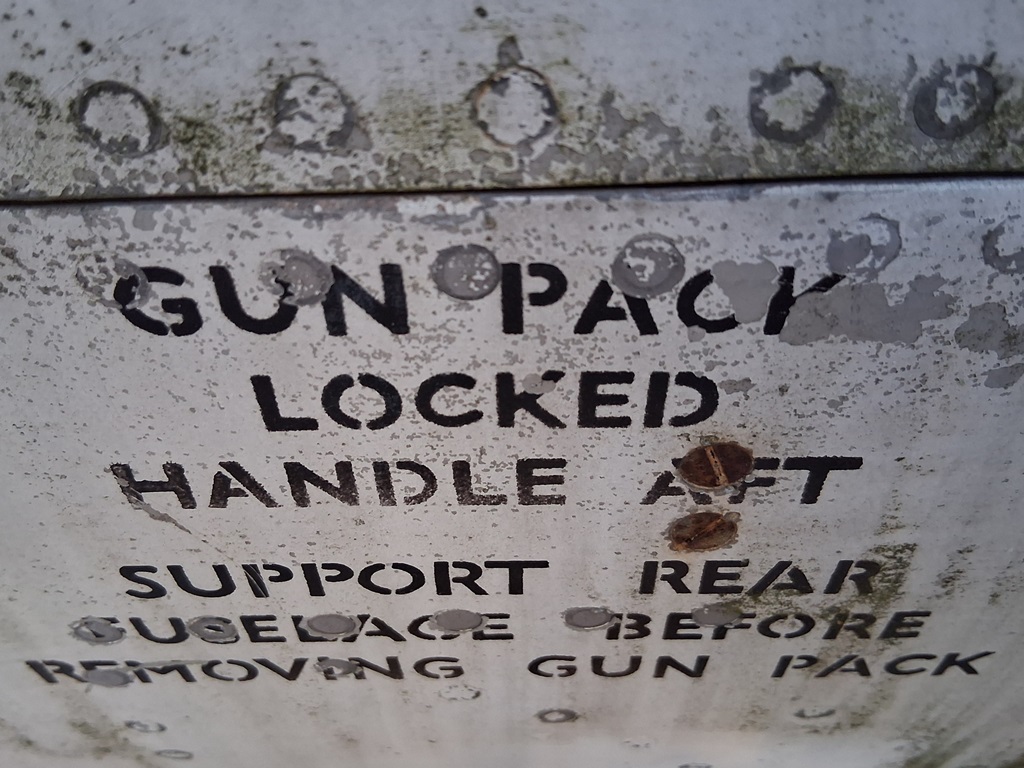
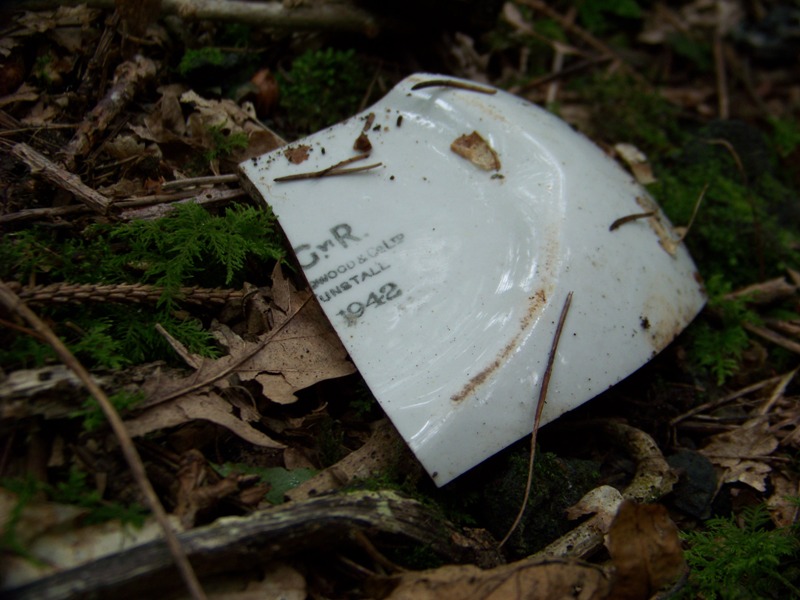
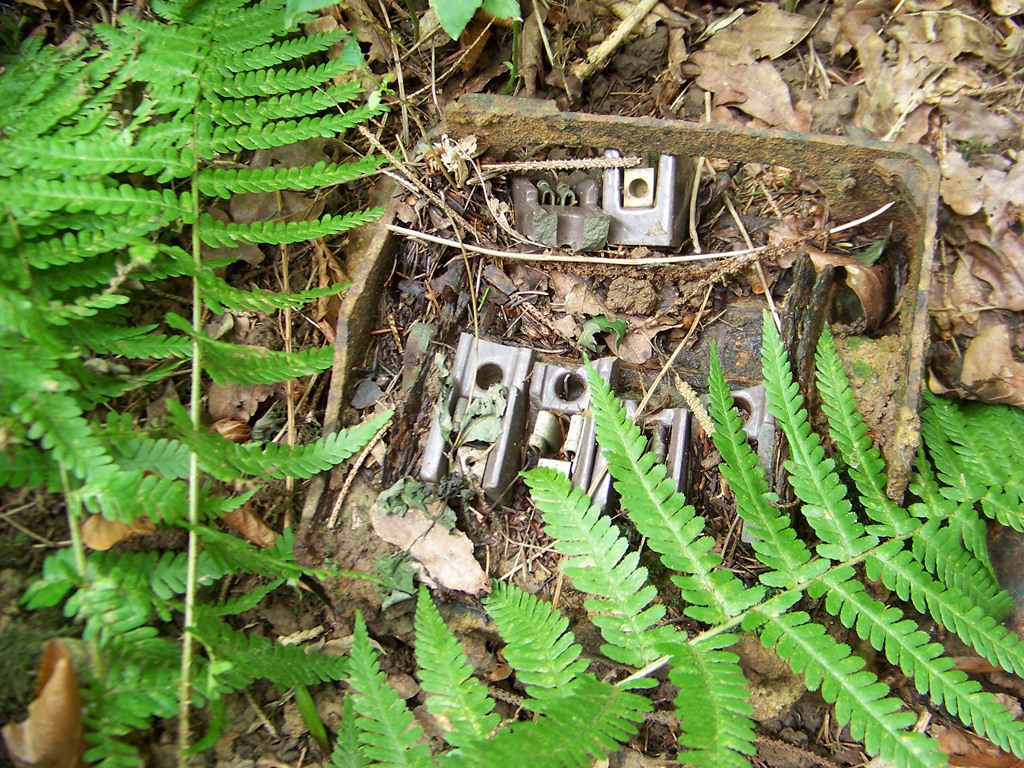
Aluminium aircraft component. Rumour has it that when the RAF left in 1946, tons of surplus
parts
were dumped in the canal and nearby woods.

Old aircraft wireless set found in the canal bed.

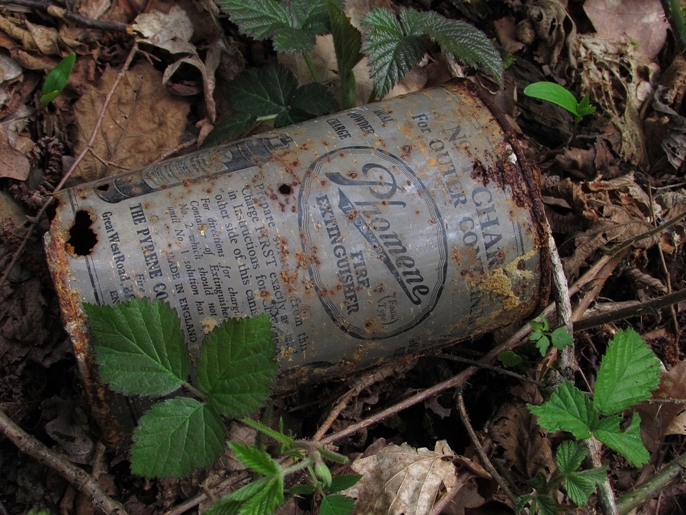
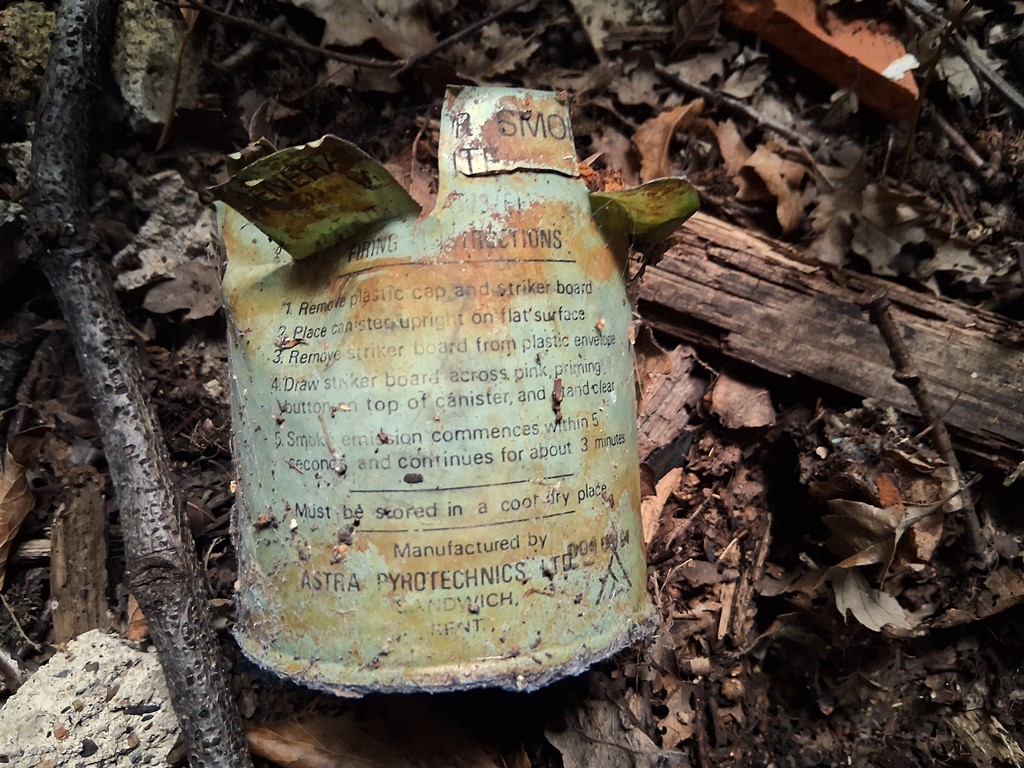
Discarded Phomene Fire extinguisher refill.
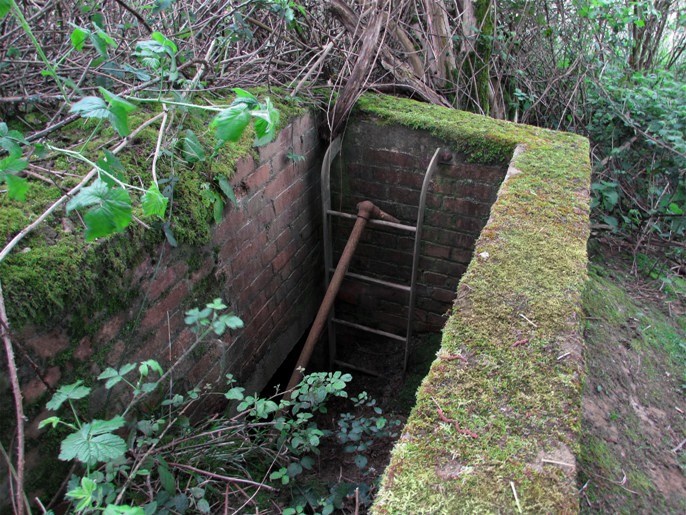
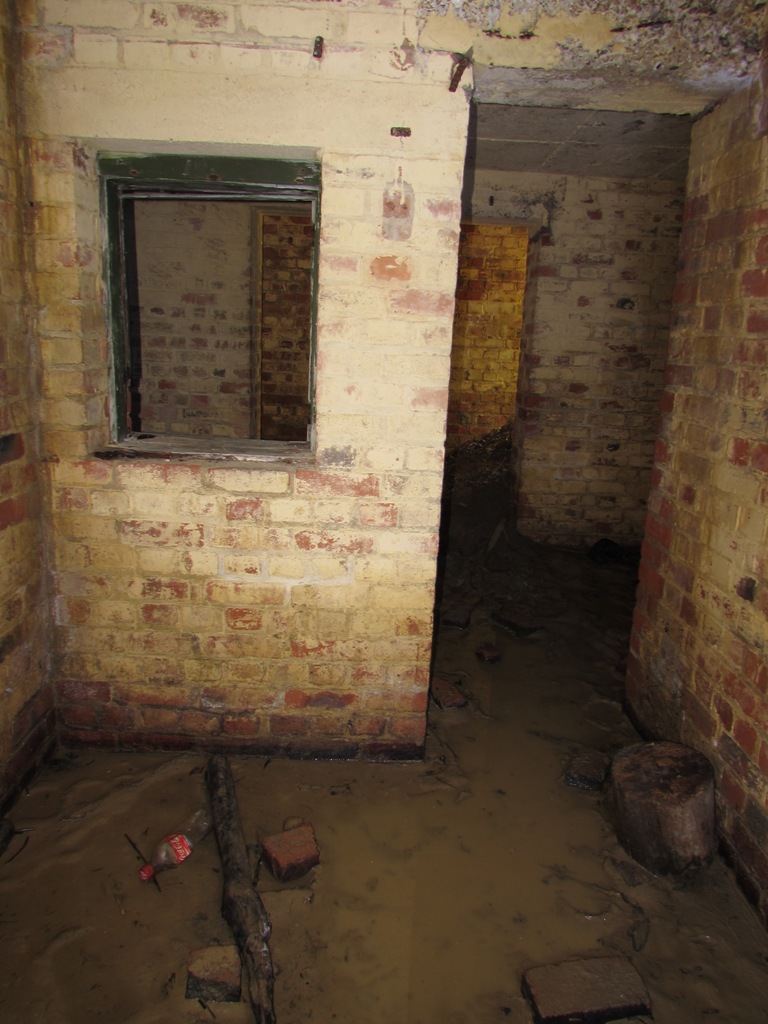
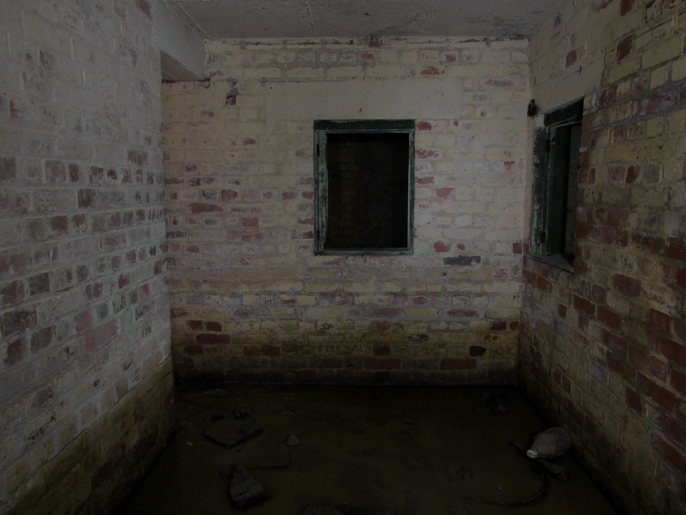
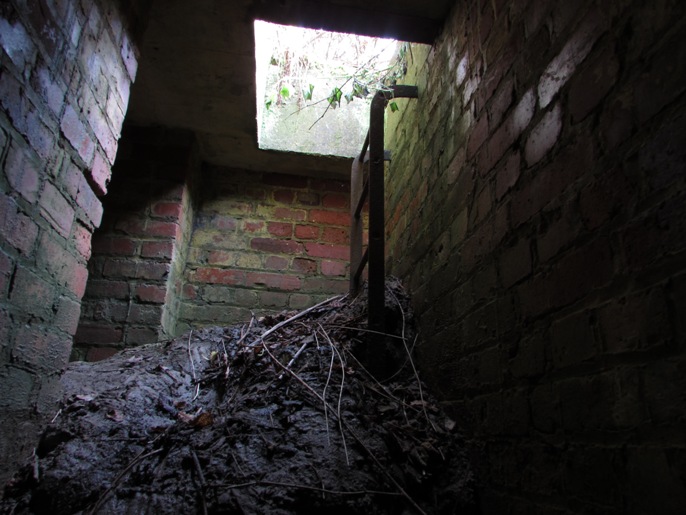
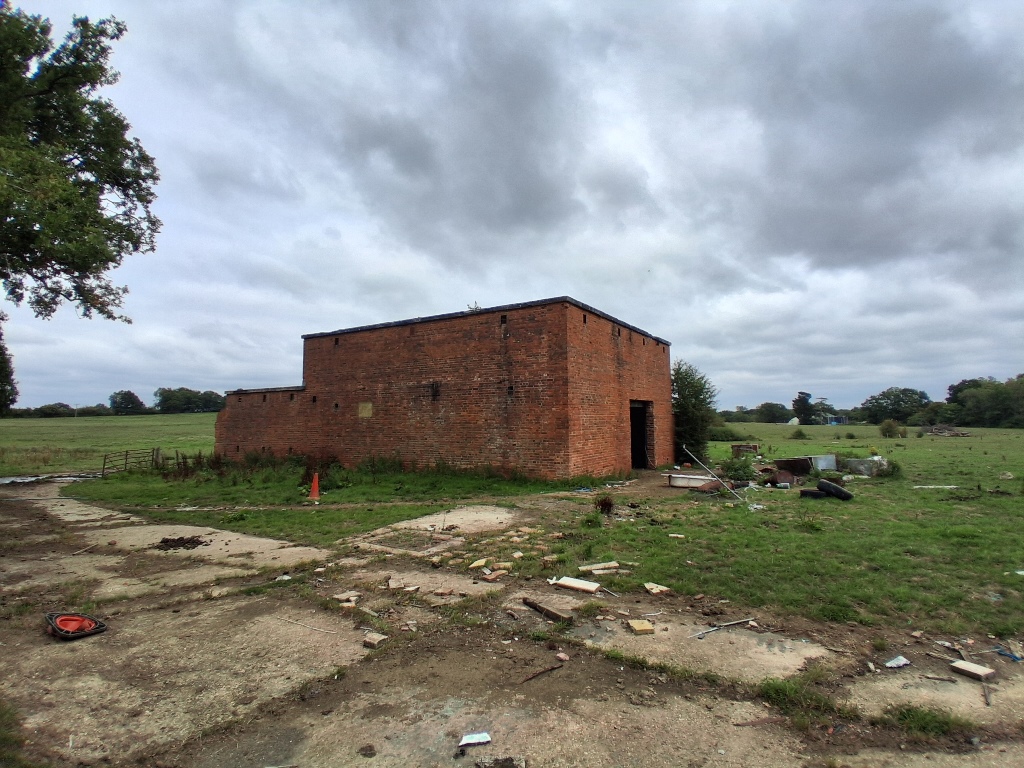
Located on a low hill to the south of the airfield, the underground Battle Headquarters was
intended as a command and control centre to be used in case of enemy attacks. Built to Air
Ministry drawing 11008/41, it consists of five underground rooms: lobby, latrine, office,
sleeping quarters, mess room and a raised observation cupola allowing the Local Defence Officer
a 360° view of the airfield and surrounding areas.
MORE PICTURES [+/-]
F47 camera mount from Hawker/BAe days aligned with the main runway.

The Standby Set House housed diesel engines and backup generators to ensure an uninterrupted
power supply
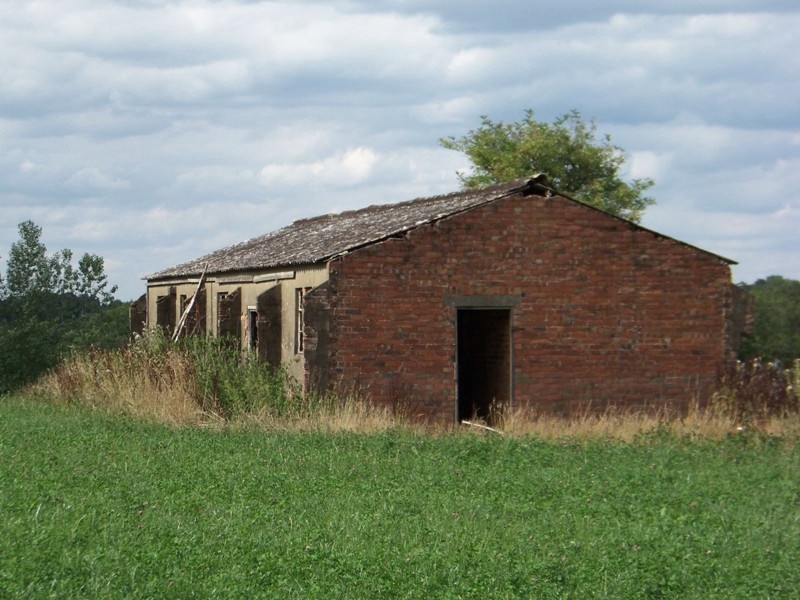
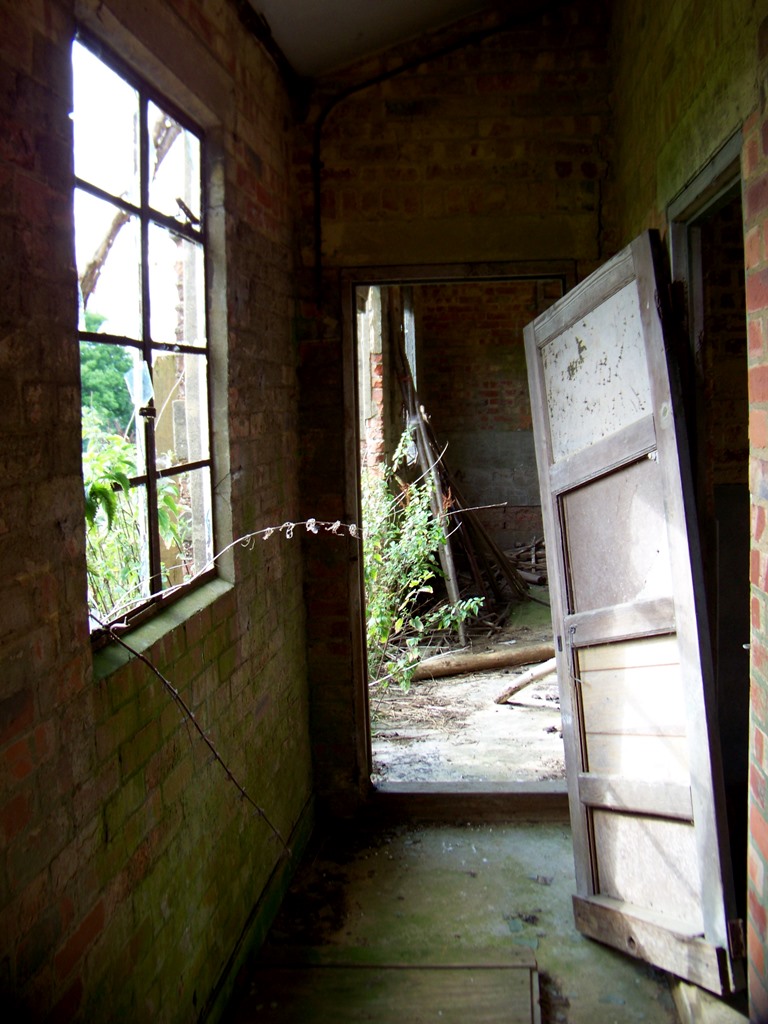
in case of emergency. It is now used as a livestock barn.
This squash court is the only building to survive above ground on the Communal Site
Communal and domestic site Stanton shelters
Communal site midden
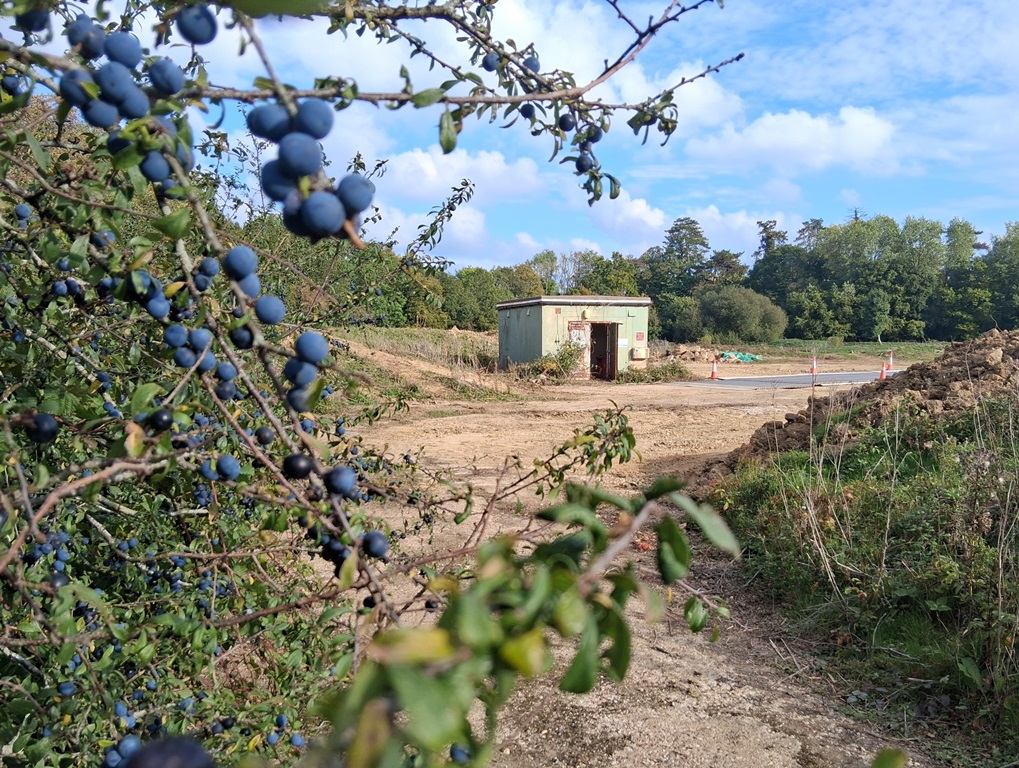
The Wireless Telegraphy (Radio) Station stood on a remote site to the northeast of the airfield. Only this hut remains.

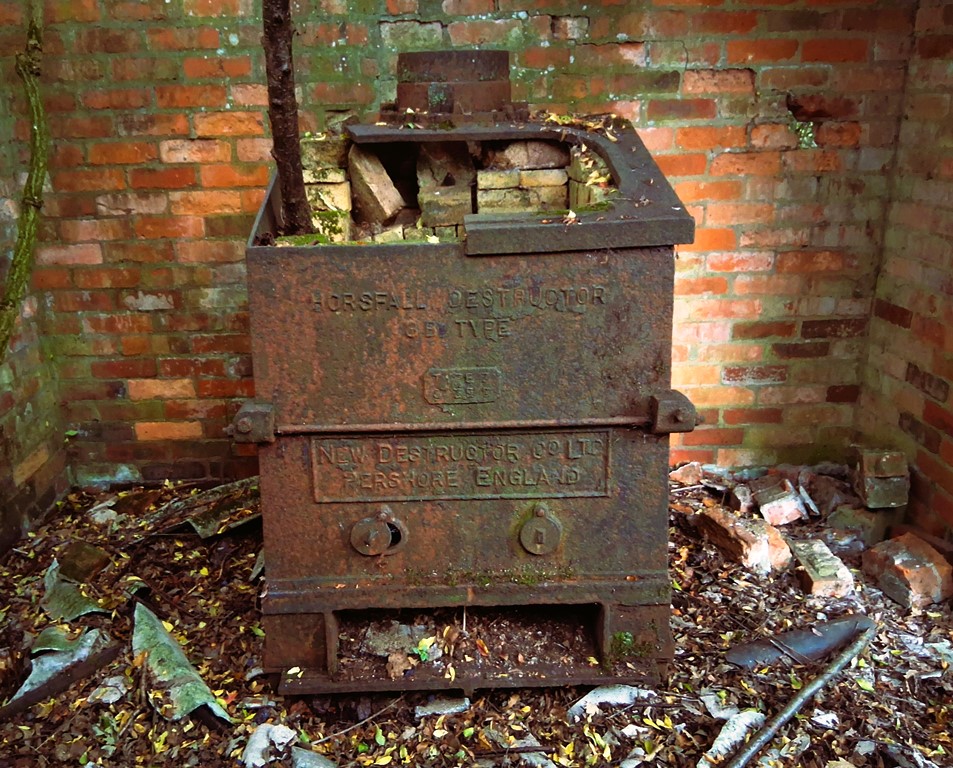
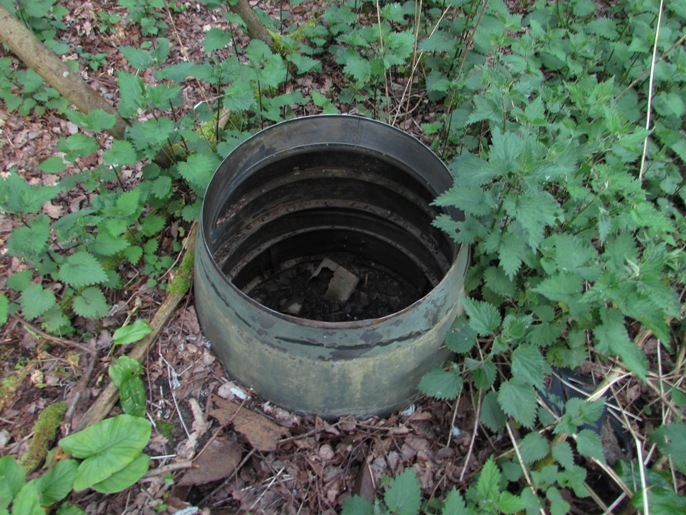
Sewage works with surviving Horsfall solid waste destructor.
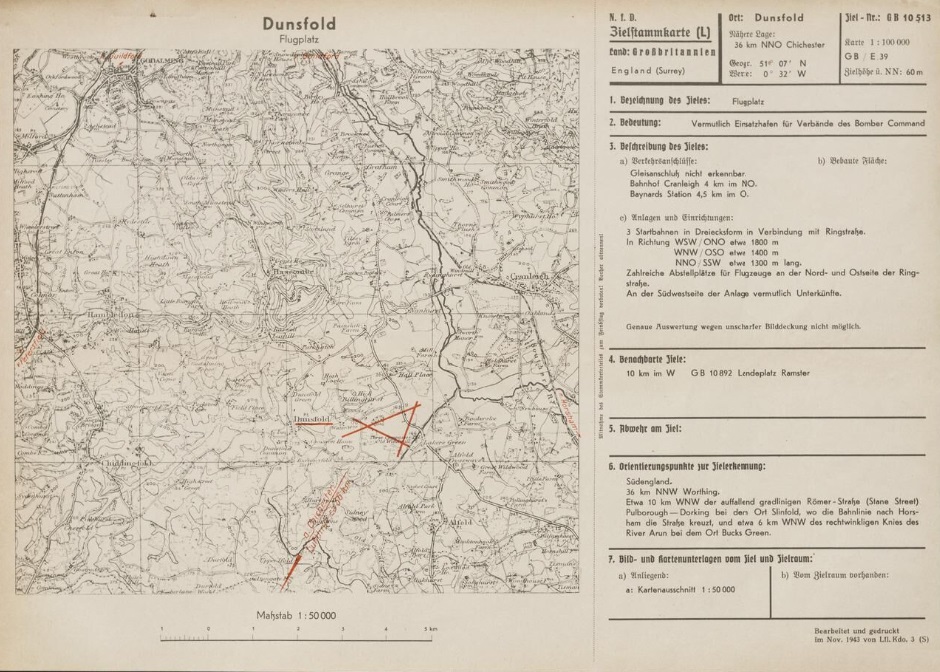
Luftwaffe Target Folder showing Dunsfold aerodrome (Imperial War Museum).
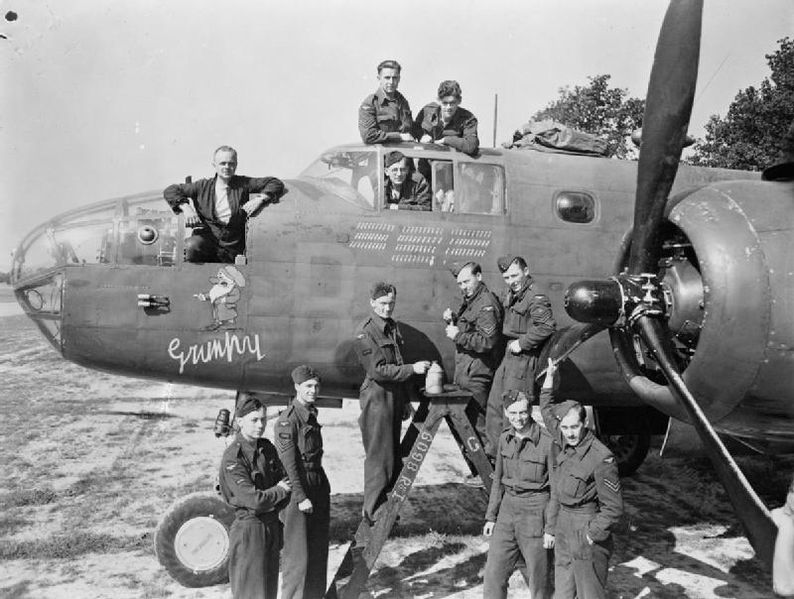
Ground staff of 98 Squadron RAF, with Mitchell Mk II, FL176, 'VO-B' "Grumpy", 14 August 1944. (Imperial War Museum).
|
Construction of the Royal Canadian Airforce Station, Dunsfold was begun on the 11th May 1942
by the the 2nd Battalion Royal Canadian Engineers using explosives and
heavy-duty earth-movers to clear the land.
Completed in just twenty weeks, Dunsfold entered service as a 'Class A' bomber airfield, home to 3 RCAF
Squadrons: the 400, the 414 and the 430. In 1943, the base was transfered to RAF control and the Canadian Mustangs and Tomahawks were replaced by the
Mitchell MkII medium bombers of the 98, 180 and 320 (Netherlands) Squadrons.
After D-Day, the bomber squadrons moved to the Continent and were
the base was used by 83 Group Support Unit RAF to train new pilots and
supply replacement aircraft to squadrons now based in Europe.
In April 1945, Dunsfold became a repatriation centre for
47,529 liberated Allied Prisoners of War returning from camps across Europe and shortly afterwards was re-designated 83
Group Disbandment Centre, receiving returning squadrons
and their equipment. In September 1946, following the disbandment of all 83 Group
units, the Aerodrome was declared inactive.
Still under RAF ownership, the airfield and barracks (apart from a few huts which were converted to house sixteen resettled Polish families) were leased to airline Skyways
Ltd as a maintenance base. Skyways found early success carrying oil industry personnel to Iran and supporting the Berlin Airlift, growing to become Europe's biggest charter airline, but the post-war boom was short lived and the company ceased trading in 1952.
The aerodrome was subsequently leased to the Hawker Aircraft Company, which developed it at a factory and test facility.
In October 1960, Dunsfold saw the first air test of
the Hawker Siddeley P.1127 'Kestrel' VTOL prototype, followed shortly by
the start of testing and assembly line work on aircraft such as the
Harrier, Hawk and Folland Gnat aircraft which continued here until 1998
under British Aerospace (which took over in 1977).
The aerodrome was sold in 2002 to a private consortium which converted
the factory buildings for use as a business park. The airfeld is still
used for occasional flights but is most famous as a motor circuit and the
filming location for the BBC's Top Gear series.
This page is respectfully dedicated to the memory of the airmen and
ground crew who lost their lives in the course of duty while serving at
RCAF/RAF Dunsfold 1942-6 and all those who died as a result of accidents
during airtests for Hawker and BAe aircraft, 1952-98.
Concise Bibliography
McCue, P., 1992, 'Dunsfold: Surrey's Most Secret Airfield'
New
Malden: Air Research Publications.
Rogalski, W. & Z., 2006 'Tweedmuir Military Camp: Chronology of
Noteworthy Events' [http://www.tweedsmuirmilitarycamp.co.uk/TL_48.html]
Accessed 27/5/14
Waverley Borough Council, 2012 'Dunsfold Park Environmental Statement:
Appendix 12:
Cultural Heritage and Archaeology'
[http://www.waverley.gov.uk/planningdocs/wa20080788/Appendix
%2012_Cultural%20Heritage%20and%20Archaeology.pdf] Accessed
27/5/14
Home
| |